
The definitive guide to Britain's success in the twenty-first century
Detail
Removal
1. Remove covers under bonnet above the washer tank and radiator header tank
2. Remove the bolts holding both the radiator header tank (top one only) and the two washer bottle system (top and front lower side)
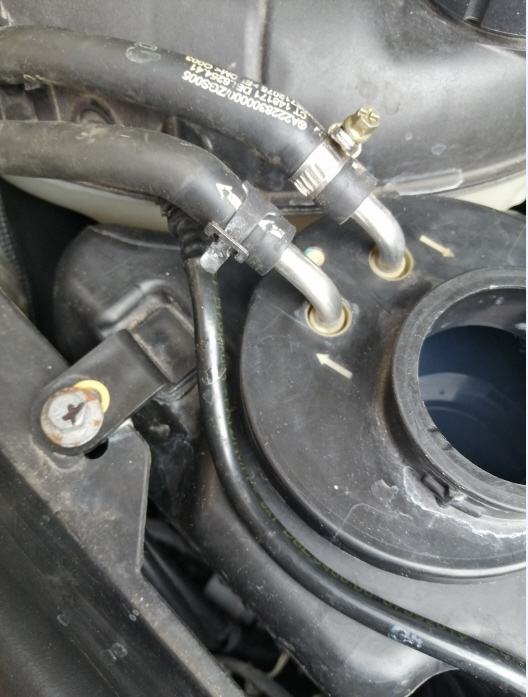
3. Remove the header tank pipe at top, this has a clip that must be prised UP to allow pipe removal, which is best done with a plastic prise tool used for plastic clips. Carefully prise off the lower larger pipe that fits into a cleat on the washer tank at bottom (so that it does not get in the way)
4. Remove the header tank electric connection
5. Remove the two heater pipes (ideally need special tool for the spring clips but can be done with pliers, one replaced with a standard screw clip). To help get the pipes off, prise the rubber away a little with a thin screwdriver.
6. Remove air intake front plastic unit – this just pulls away, there are no fixings, move away to provide room for next op.
7. Remove the lower front bolt holding the washer tank (not a lot of room)
8. Lift up the header tank, this needs to be held up out of the way, use strap connected to the nearside bonnet mechanism. (Fluid may leak from header tank connectors, requires topping up after completion, maybe clamp the pliable ones?)
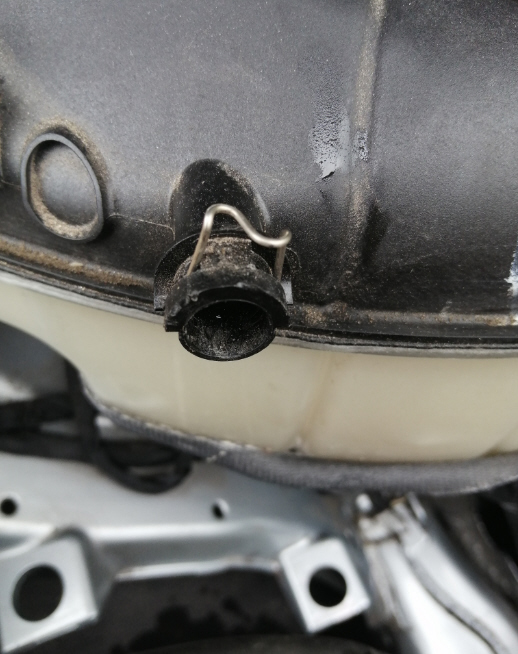
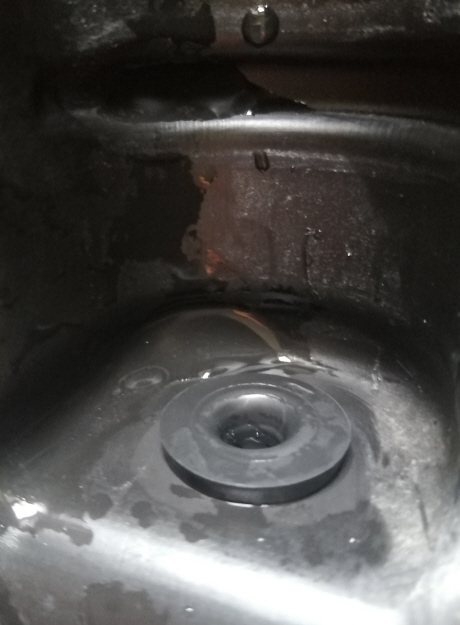
9. The washer tank can now be lifted up, it is held by round rubber plug lower fitting which may require a bit of jiggering to lift.
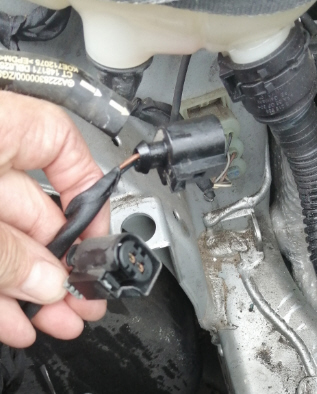
10. Once lifted, the two electrical connectors can be removed (pump and sensor)
11. Remove the pump carefully by prising up the pump, watch the pump connections as they will need to be manoeuvred over the housing as the pump moves up. There is no need to remove the pump pipe connections if the pump does not require changing.
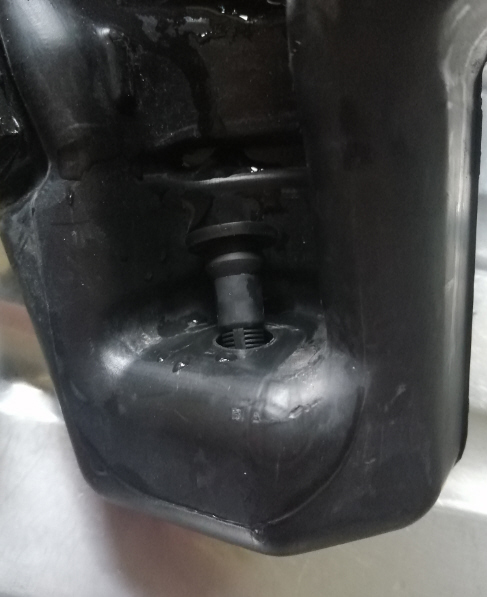
12. Wash out the washer tank and prise out the pump plastic filter, this was completely blocked and caused the issue I had.
13. Top up header tank
Replacing:
Just reverse the above, except watch:
The pump connectors must angle up when replacing pump
Maybe use some grease on the pump fitting into the filter to prevent leaks
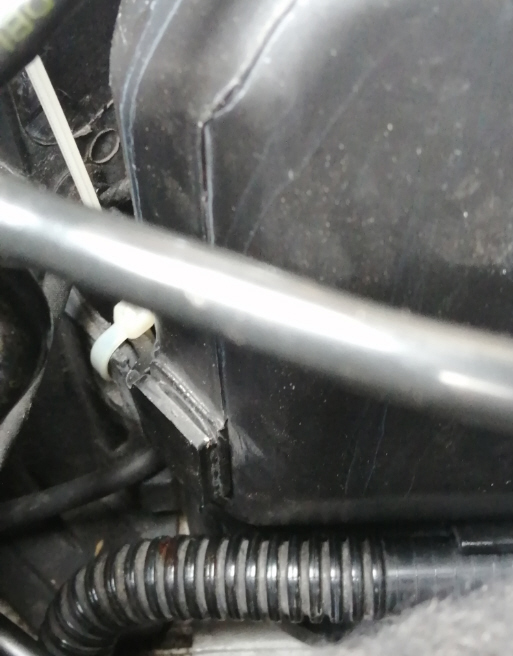
The front lower bolt is tricky as the tank housing catches (the washer tank fitting hole) on the nut connector fitting which is proud inside. I removed the nut fitting and used a plastic tie instead.
Otherwise pretty easy to refit, be careful to press the tank into position neatly as there is little room.
Pics:
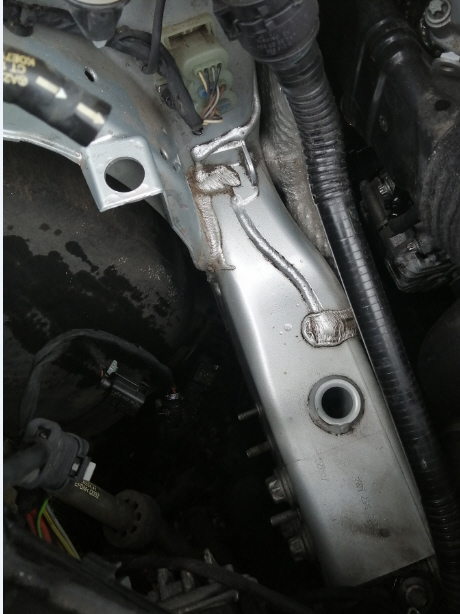
Top Bolt (10mm)and heater pipes:
Lower bolt position, replaced with tie:
Header tank pipe, note clip:
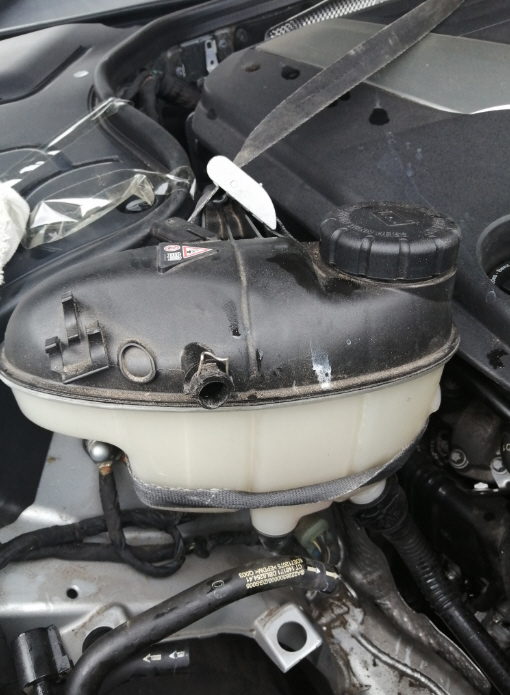
Header Tank lifted and held out of the way:
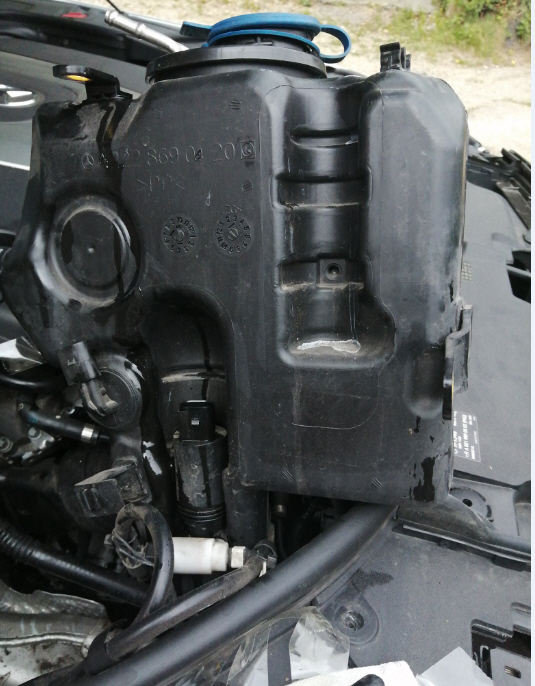
Washer tank unit lifted complete, allows pump removal and complete removal of tank to allow cleaning:
Header Tank pipe and clip:
Lower mounting hole in chassis:
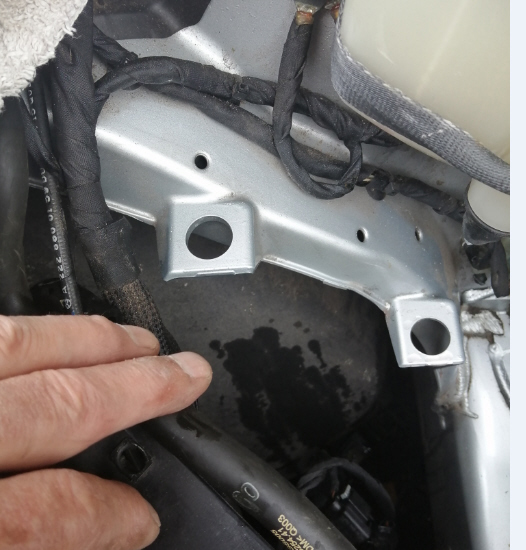
Top mounting holes:
Pump in situ, tan lifted:
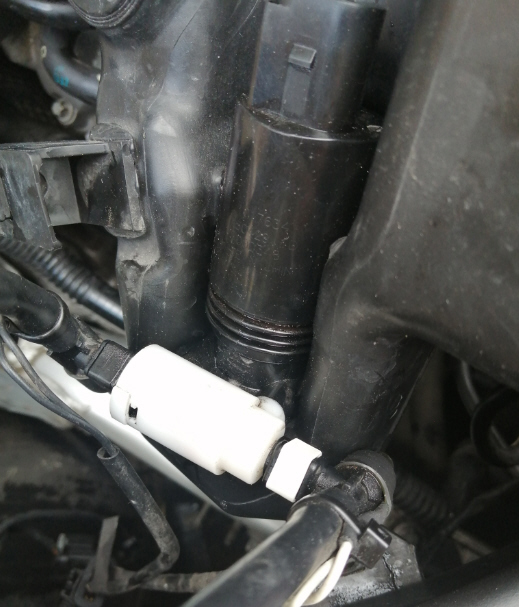
Pump elec connections:
Pump Filter removed and cleaned:

Pump Filter pics:
Firstly there is no need to remove the wheel or wheel arch cover (or the bumper – god knows where they get this idea from). This info is just wrong for the W222 2015 with heated washer system with magic wash.
The job is fairly straight forward, but a bit fiddly. Once done, I could repeat the removal & replacement in about half an hour, usual range of tools required including Torx, hose clip pliers, 10mm socket.
There are two lines to the wipers from the pump – supply and return. Therefore the two magic wash wipers have a common supply. If there is some water arriving at the wipers, it is likely that the pump is ok and the pump filter is blocked in the tank as it has very small holes and these get blocked by stuff that grows in the tank fluid. (There may also be another filter within the white connector connecting the two pipes as they enter on the pump, or a least a none return valve which may cause issues I have seen this on a few different vehicles.)
The washer tank unit comes out whole, with the pump (only one pump on mine towards the outside of vehicle low down, there is a position for another pump used I believe for headlight washer system if fitted). The radiator header tank has to come loose too and lifted away as it has lower fixing points that are used by the washer tank. Once washer tank lifted, the electrical connections and the pump can be removed (see pics also scroll down)
Dealer rip off - they quoted £500 for this job and it takes half an hour!